HOW TO: Photoshop Curves Presets
- Mar 28, 2017
- 4 min read
Updated: Apr 22
HOW TO: Photoshop Curves Presets
Loading, Using, and Editing Photoshop Curves
To make it easier for customers, and as a resource for anyone just starting out using Adobe Photoshop, I'm adding this brief little tutorial! Learn to use this awesome tool to improve your photos for personal or commercial work.
Using curves is great for both amateur and professional photographers, or just for fun. Apply to both color and black and white photos, or apply multiple times for unexpected results.
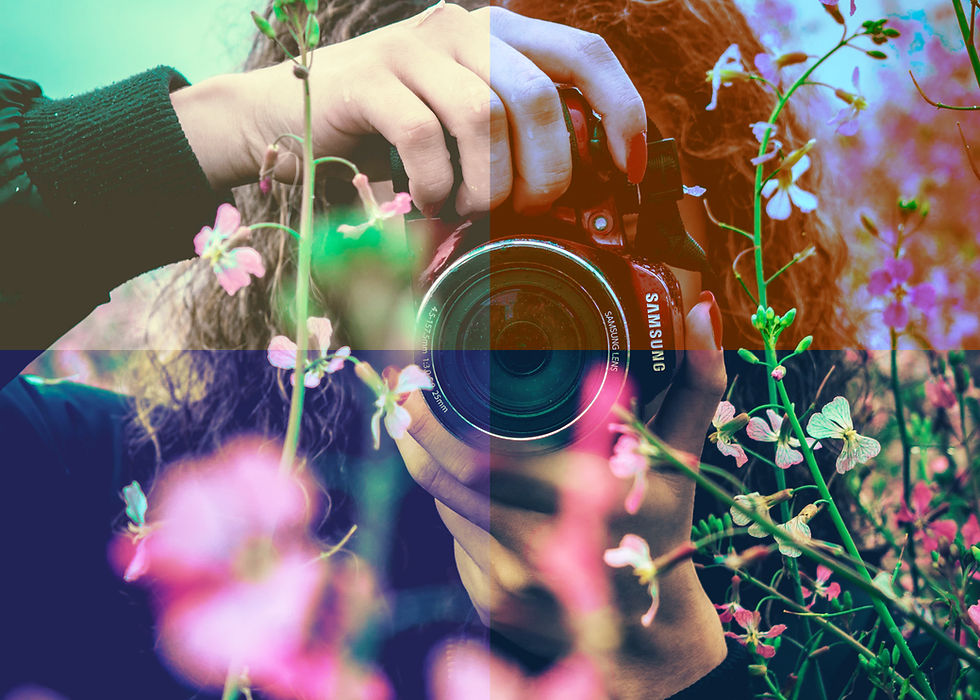
(Header Photo by Nicolas Ladina Silva)
What are Curves?

Curves can also be applied to CMYK, LAB, or Grayscale images, but for this example I'm using an RGB image. This is the default view when Curves are first opened.
Photoshop Curves can be used to enhance the look and feel of your photographs. They work to adjust the color and tone of images. Using the curves adjustment layer in Adobe Photoshop, you can manually adjust points across the image's tonal range.

Even a slight curve can make a big difference in the tone of your image!
The default view is a straight diagonal line across graph. When you adjust an RGB image, remember that the upper-right area of the graph changes the highlights and the lower-left area changes the shadows. Adding control points to the line and move them up and down the graph will change the shape of the Curve, which will be reflected in your image.

If Photoshop is already open when doing this, you may need to close out the program and reload it to access the new files. To adjust the color balance just choose the channel you want to adjust from the menu to the left of the Auto button and right of the pointer finger icon.
You can choose to just change the main RGB curve, or choose to change either the Red, Green, or Blue Channels individually, which will change the overall color tone of your image. You can also choose, instead of adding or moving points, to use the sliders located at the bottom of the graph.
How do I load Curves Presets?
When you have saved a Curves Preset that you've downloaded online and can't figure out how to open it in Photoshop, this tutorial may make things a little easier! The two ways to load Curves I find the easiest are either save them directly to the Curves folder located in the Adobe folder of my Program Files, to load them manually from a separate folder on my computer. Curves presets appear as an ACV extension file (.acv).
1. The menu on your computer may look a little different, but typically you can find the Curves folder in Adobe by Going to Local Disk ("C-Drive") > Program Files > Adobe > Adobe Photoshop > Presets > Curves. You can either save directly to this folder, or if it's easier just save the curves presets to your computer and copy + paste into the folder.

Screenshot of how the folder looks when open on my computer so you can see the path from one folder to another.
This also works if you are saving a new curves preset, and you'd like it to be accessible every time you open the program. If you choose to load the presets manually, you will have to do so every time you open the program again.

2. When opening an image in Photoshop, either select the Curves icon from the Adjustments Panel on the right, or go to Image > Adjustments > Curves from the top menu. *Note: it is better to use the adjustments panel, because it will open the curves as a new layer that you can edit or remove as necessary. Choosing Curves directly from the top menu or using CTL + M shortcut will apply it directly to the photo itself. If you Adjustments panel is not visible, go to Window > Adjustments to reopen it.
Next, once the Curves panel is open, click on the the top right that looks like four dashed lines - this opens the Curves menu. Click "Load Curves Preset..." and then find the folder which you've used to store your presets to load it into the program.
YOU CANNOT DRAG AND DROP CURVES FILES INTO PHOTOSHOP. You will get an error message. This may have worked in previous versions of Photoshop, but it does not work in Photoshop CC.
How can I use Curves Presets?
There are a lot of different ways you can use Curves to achieve different effects across all your photos. Because Curves alter the tone and color of your photos, one Curve Preset can have a completely different effect across images that are lighter or darker or taken in a different location with different colors, etc. Have fun experimenting!


Sample 1 of a black and white photo with two curves presets added. Sample 2 of two curves presets added, with the opacity of each changed.
Add Curves Presets to black and white photos to achieve a vintage or tinted or duo tone look. Play with the opacity of the presets if you feel they look too harsh but you like the color, giving the image a more subtle tint. Or add more than one preset over another to create a high contrast, bolder look.


Sample 3 and 4 showing Curves Presets layered with the opacity changed.
One of the benefits of using Curves Presets is that you can start from a saved set of adjustments and apply those adjustments to one photo, or an entire set of photos, without having to manually change the points for each section of the graph for each image. It can potentially save you a lot of time and hassle later on, especially if you want to apply the same preset to another photo in the future. If you have a series of photos and you've created a set of layers you want to use on each photo to achieve a more uniform look, simply select the Curves layers and drag and drop them into each open photo within the program.
Have fun experimenting and learning, and download the free preset below!

FREEBIE TIME! Download this free Photoshop Curves Preset for free to play and learn using your own photos. Created in Photoshop CS3, but tested in Photoshop CC and is working as intended.


Excellent instruction! It's much simpler to comprehend how curve presets improve colors and tones in pictures thanks to your explanation. I particularly appreciated how you demonstrated how to load and apply presets, which can greatly reduce editing time. As a graphic design company, we value tools like these that enhance efficiency and creativity for both novices and experts.